Imagine holding a tool that turns a simple sheet of plywood into smooth curves or precise shapes. You feel excited, but a little nervous too. A jig saw brings that power right to your hands. This versatile tool cuts wood, metal, plastic, and more with ease. Beginners love it because it handles detailed work that other saws struggle with.
Yet power tools demand respect. The U.S. Consumer Product Safety Commission reports that power tools send about 400,000 people to emergency rooms each year. Many of those injuries come from saws. Proper knowledge prevents most problems. Start with a solid beginner model and always follow jig saw safety tips. This guide walks you through every step so you cut confidently from day one.
What Exactly Is a Jig Saw?
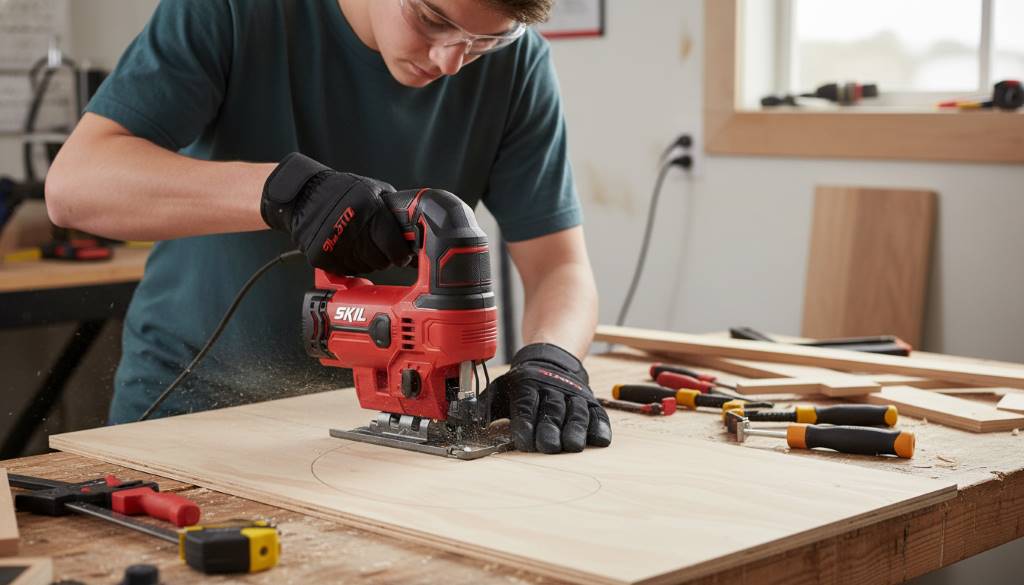
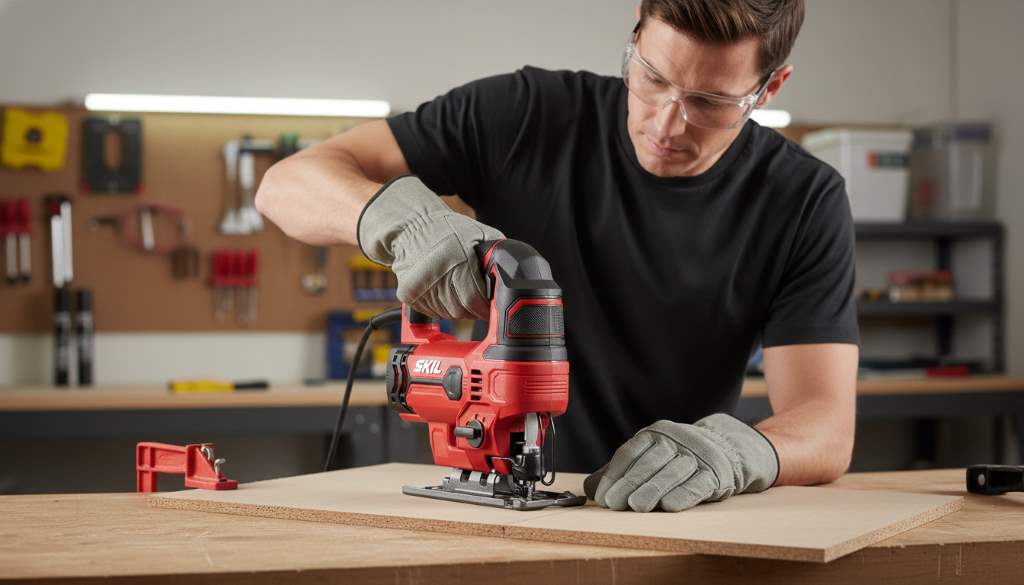
A jig saw stands out as a handheld power tool. It moves a narrow blade up and down quickly to slice through materials. Unlike circular saws that excel at long straight cuts, jig saws shine on curves, circles, and intricate patterns.
People also call them saber saws or scroll saws in some regions. However, a scroll saw stays stationary while a jig saw moves freely. You guide the tool along your marked line. Corded models deliver steady power. Cordless ones offer freedom to move around. Both work well for beginners.
Moreover, jig saws handle various thicknesses. They cut wood up to two inches thick easily. With the right blade, they tackle thin metal or plastic too. This flexibility makes them perfect for DIY projects, crafts, and home repairs.
Choosing Your First Jig Saw
You pick your first jig saw carefully. Look for models with 4 to 6 amps for corded versions. These provide enough power without overwhelming a beginner.
Variable speed controls help a lot. You adjust the blade speed for different materials. Slower speeds work on metal. Faster ones suit wood. Orbital action settings add aggression to cuts. Start with zero orbit for control, then experiment.
Comfort matters during long sessions. Choose a tool with a soft grip handle. Tool-free blade changes save time and frustration. Many modern models include LED lights to illuminate your cut line.
Additionally, check for dust blowers. They keep your line visible. Some saws come with edge guides for straight cuts. These extras build confidence quickly.
Understanding the Parts of a Jig Saw
You familiarize yourself with the main parts before cutting. The base plate, or shoe, rests flat on your material. It stays stable during cuts. Some tilt for bevel cuts up to 45 degrees.
The blade clamp holds the blade securely. Most accept T-shank blades, which lock in place easily. The trigger controls power. Lock-on buttons help during extended use.
Furthermore, the orbital adjustment knob changes blade movement. Zero orbit moves straight up and down for clean cuts. Higher settings swing the blade forward for faster, rougher work.
Guards protect your fingers. A clear blade guard lets you see the action. Dust ports connect to vacuums for cleaner workspaces.
Essential Jig Saw Blades for Beginners
Blades make all the difference. You select the right one for each job. Blades come in two main shank types: T-shank and U-shank. Most new saws use T-shank for quick changes.
Teeth per inch (TPI) determine cut quality. High TPI, like 10 to 24, gives smooth finishes in wood. Lower TPI, 6 to 10, cuts faster but rougher.
Material-specific blades perform best. High-carbon steel blades handle general wood cutting. Bi-metal blades last longer and cut metal too. Reverse-tooth blades reduce splintering on top surfaces.
Here are common types:
- Wood-cutting blades: Fine teeth for clean edges.
- Metal-cutting blades: More teeth, slower speeds.
- Scroll blades: Narrow for tight curves.
- Flush-cut blades: Cut close to surfaces.
Always match blade length to material thickness. The blade should extend beyond the material at all times.
Mastering Jig Saw Safety Tips
Safety comes first every time. You wear safety glasses to protect your eyes from flying debris. Hearing protection helps with noise. A dust mask prevents inhaling particles.
Secure your workpiece firmly. Clamps prevent movement. Never hold pieces by hand while cutting. Work in well-lit areas. Keep cords away from the blade path.
Moreover, unplug the saw when changing blades. Let blades cool after use. They get hot. Never force the tool. Let the blade do the work at its own pace.
Check for damage before starting. Cracked cords or bent blades stay out of service. Keep fingers clear of the blade path. Use both hands: one on the handle, one guiding the front.
Setting Up Your Workspace Properly
A good workspace prevents accidents. You choose a sturdy bench at comfortable height. Clear clutter around you. Good lighting shows your cut line clearly.
Ventilation matters too. Cutting creates dust. Open windows or use fans. Connect a shop vacuum if your saw has a port.
Lay out tools within reach. Keep blades organized. Mark cut lines with sharp pencils. Use straightedges for guides on long cuts.
Additionally, prepare scrap wood for practice. Test settings on scraps first. This builds skill without wasting good material.
Basic Cutting Techniques
You start with straight cuts. Mark your line clearly. Align the blade just outside the waste side. Rest the front of the shoe on the material. Start the saw before touching the wood.
Guide steadily. Do not push hard. Let the tool move at its pace. For longer straight cuts, clamp a straightedge as a guide.
Curved cuts require patience. Follow the line slowly. Turn the saw gently. Relief cuts help in tight spots. Cut to the waste side first, then clean up.
Plunge cuts start inside material. Tilt the saw on its toe. Lower slowly as the blade enters. Practice on scrap first.
Bevel cuts add angles. Tilt the shoe to desired degree. Lock it securely. These work great for decorative edges.
Beginner-Friendly Projects to Build Skills
Simple projects build confidence fast. Start with a basic coaster set. Cut circles from thin plywood. Sand edges smooth.
Next, try a picture frame. Cut straight pieces and miter corners. Assemble with glue and nails.
A wooden sign comes next. Cut letters freehand or with stencils. Practice curves here.
Furthermore, make a birdhouse. Cut entry holes and roof angles. Combine straight and curved cuts.
A puzzle toy challenges curves more. Draw interlocking shapes. Cut carefully along lines.
These projects teach control gradually. Each success motivates the next.
Related:
Understanding Brushless Impact Drivers
Common Mistakes Beginners Make and How to Fix Them
Beginners often force the saw. This bends blades and ruins cuts. Instead, guide gently. Let speed do the work.
Wrong blades cause frustration. Dull or mismatched blades tear material. Change blades regularly. Match them to the job.
Poor marking leads to errors. Faint lines disappear under dust. Use bold markers or scoring tools.
Additionally, unstable workpieces shift mid-cut. Always clamp securely. Use supports for large pieces.
Starting cuts abruptly causes kickback. Ease into material smoothly. Let the blade reach speed first.
Maintaining Your Jig Saw for Long Life
Regular care keeps your tool running smoothly. Clean dust from vents after use. Wipe the shoe plate.
Store in a dry place. Hang or case it properly. Check cords for damage often.
Lubricate moving parts occasionally. Some models need oil on blade holders.
Replace worn parts promptly. New rollers improve performance. Keep spare blades handy.
Moreover, follow manufacturer guidelines. Proper maintenance prevents breakdowns.
Advanced Tips as You Progress
Once basics feel comfortable, try these techniques. Tape material bottoms to reduce splintering. Painter’s tape works well.
Use guides for perfect circles. Pivot nails create compasses. Slow speeds give cleaner results.
Combine tools for better outcomes. Rough cut with jig saw, finish with sander.
Experiment with different materials. Thin metals require patience and proper blades.
Join online communities. Share projects and learn from others.
Conclusion
You now know how to get started with a jig saw safely and effectively. Practice these tips regularly. Each cut improves your skill.
Start small. Build confidence with simple projects. Soon complex designs feel natural.
Grab your jig saw today. Mark your first line and make that cut. Your woodworking journey begins now.
FAQs
What is the best jig saw for complete beginners?
Look for 5-amp models with variable speed and tool-free blade changes. Comfortable grips and clearily visible lights help too. Reliable brands offer good starter options.
How do I stop wood from splintering when using a jig saw?
Tape the cut line with painter’s tape first. Use reverse-tooth blades when possible. Cut slower on finish surfaces.
Can a jig saw cut metal?
Yes, with proper metal-cutting blades. Use slower speeds and light pressure. Lubricate with cutting oil for best results.
How often should I change jig saw blades?
Change when cuts become rough or slow. Dull blades force the tool and cause poor results. Keep several types on hand.
Is a corded or cordless jig saw better for beginners?
Corded models provide consistent power without battery worries. They suit most beginner projects well.
References
- S. Consumer Product Safety Commission power tool injury data: https://www.cpsc.gov/s3fs-public/pdfs/2003h054.pdf
- OSHA Hand and Power Tools guidelines: https://www.osha.gov/sites/default/files/publications/osha3080.pdf
- Home Depot Jigsaw Usage Guide: https://www.homedepot.com/c/ah/how-to-use-a-jigsaw/9ba683603be9fa5395fab901b4e6e3c8
- Cornell University Jigsaw Safety Talk: https://ehs.cornell.edu/campus-health-safety/occupational-safety/tool-and-machine-safety/jigsaw-safety-toolbox-talk